- Add the Lexan
- Add the artwork
- Add a bottom panel
- Add some rubber feet
- Sand
- Paint
- Sand
- Paint
- Sand
- and Sand
- I am not used to the controller. The buttons are easier to work with, but I'm not yet comfortable with the joystick. I still prefer the directional controls on the gamepad instead of the joystick.
- I'm a little out of practice and just plain incompetent at this game. I've been spending all of my free time in the garage inhaling sawdust instead of playing Street Fighter IV.
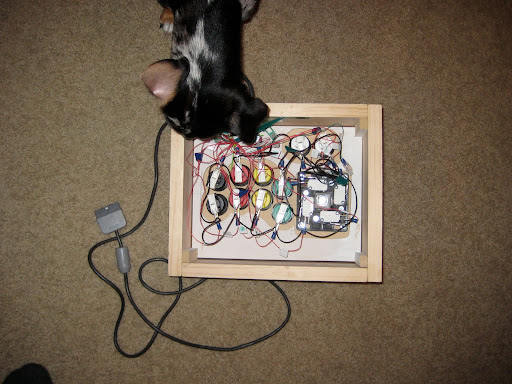
That's Luigi (dachshund/rat terrier mix) inspecting the common ground wiring. He's probably wondering why this is the worst tasting pile of "spaghetti" he's ever tasted.
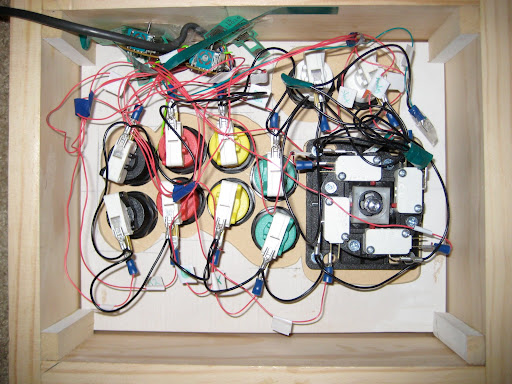
Here's a closer look at the wiring. As you can tell, I have minimal experience with this sort of thing. The black wire is the common ground. You can see it looping around from switch to switch. I used 22 gauge stranded wire from Radio Shack for the ground wire. I cut pieces 3 or 4 inches long and connected them with the quick disconnects.
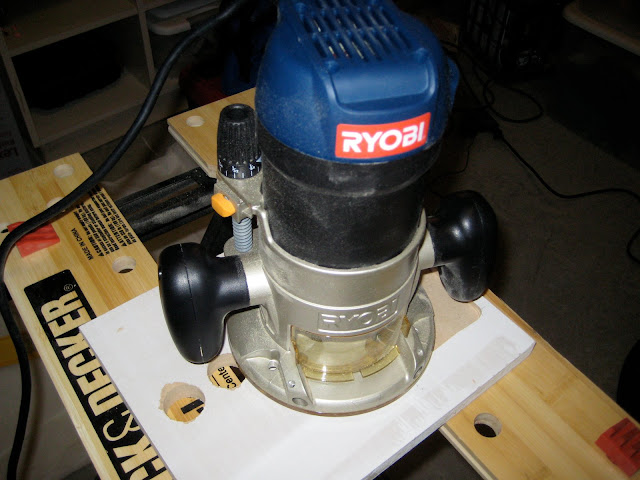
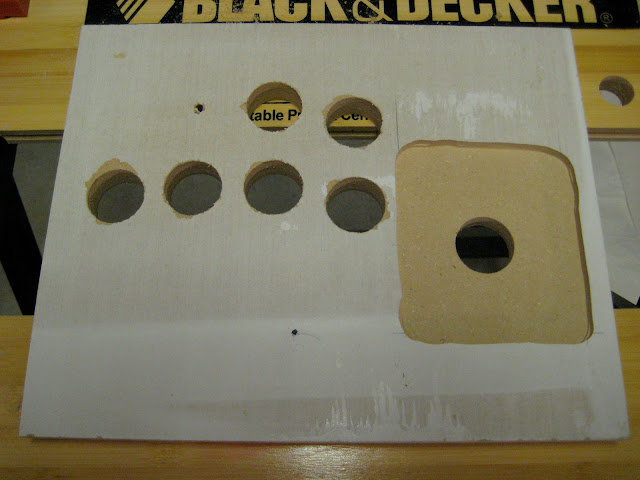
Here's Luigi pointing out the fact that I had the router set too low when I started rounding the edges of the box. Though most of his time is spent licking things he shouldn't be licking, he's actually a master craftsman and I really respect his work.

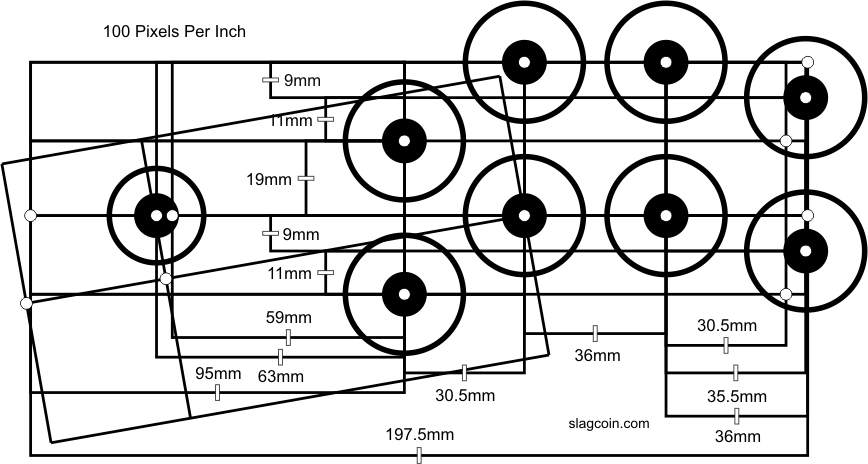
Some of you may have noticed that I redid the top panel. You can see the first one I was working with in this post. Instead, I used this Sega layout from Slagcoin.com. The only thing I added was the two buttons above the joystick for Start and Analog. I'll probably remove the Analog lead and replace it with Select (mute) in case I ever end up playing some monkey with a headset.
Afterthoughts?
This is probably the ugliest PS3 controller you've ever seen, but it actually works and it's a lot of fun.
At the very least, I've learned a lot about what to do, and more importantly, what not to do, when working with a circular saw and router.


